

Converting slides to digital images is easy using the Nikon ES-2 Film Digitizing adapter set paired with a Nikon Z6 full-frame camera. The adapter simply screws onto the lens’ where a filter would be attacked.
The adapter comes with a 2-section slide holder and a 6-section negative holder. Also included are 2 separate 62mm adapters which can be placed together to add extra length if needed with your lens.
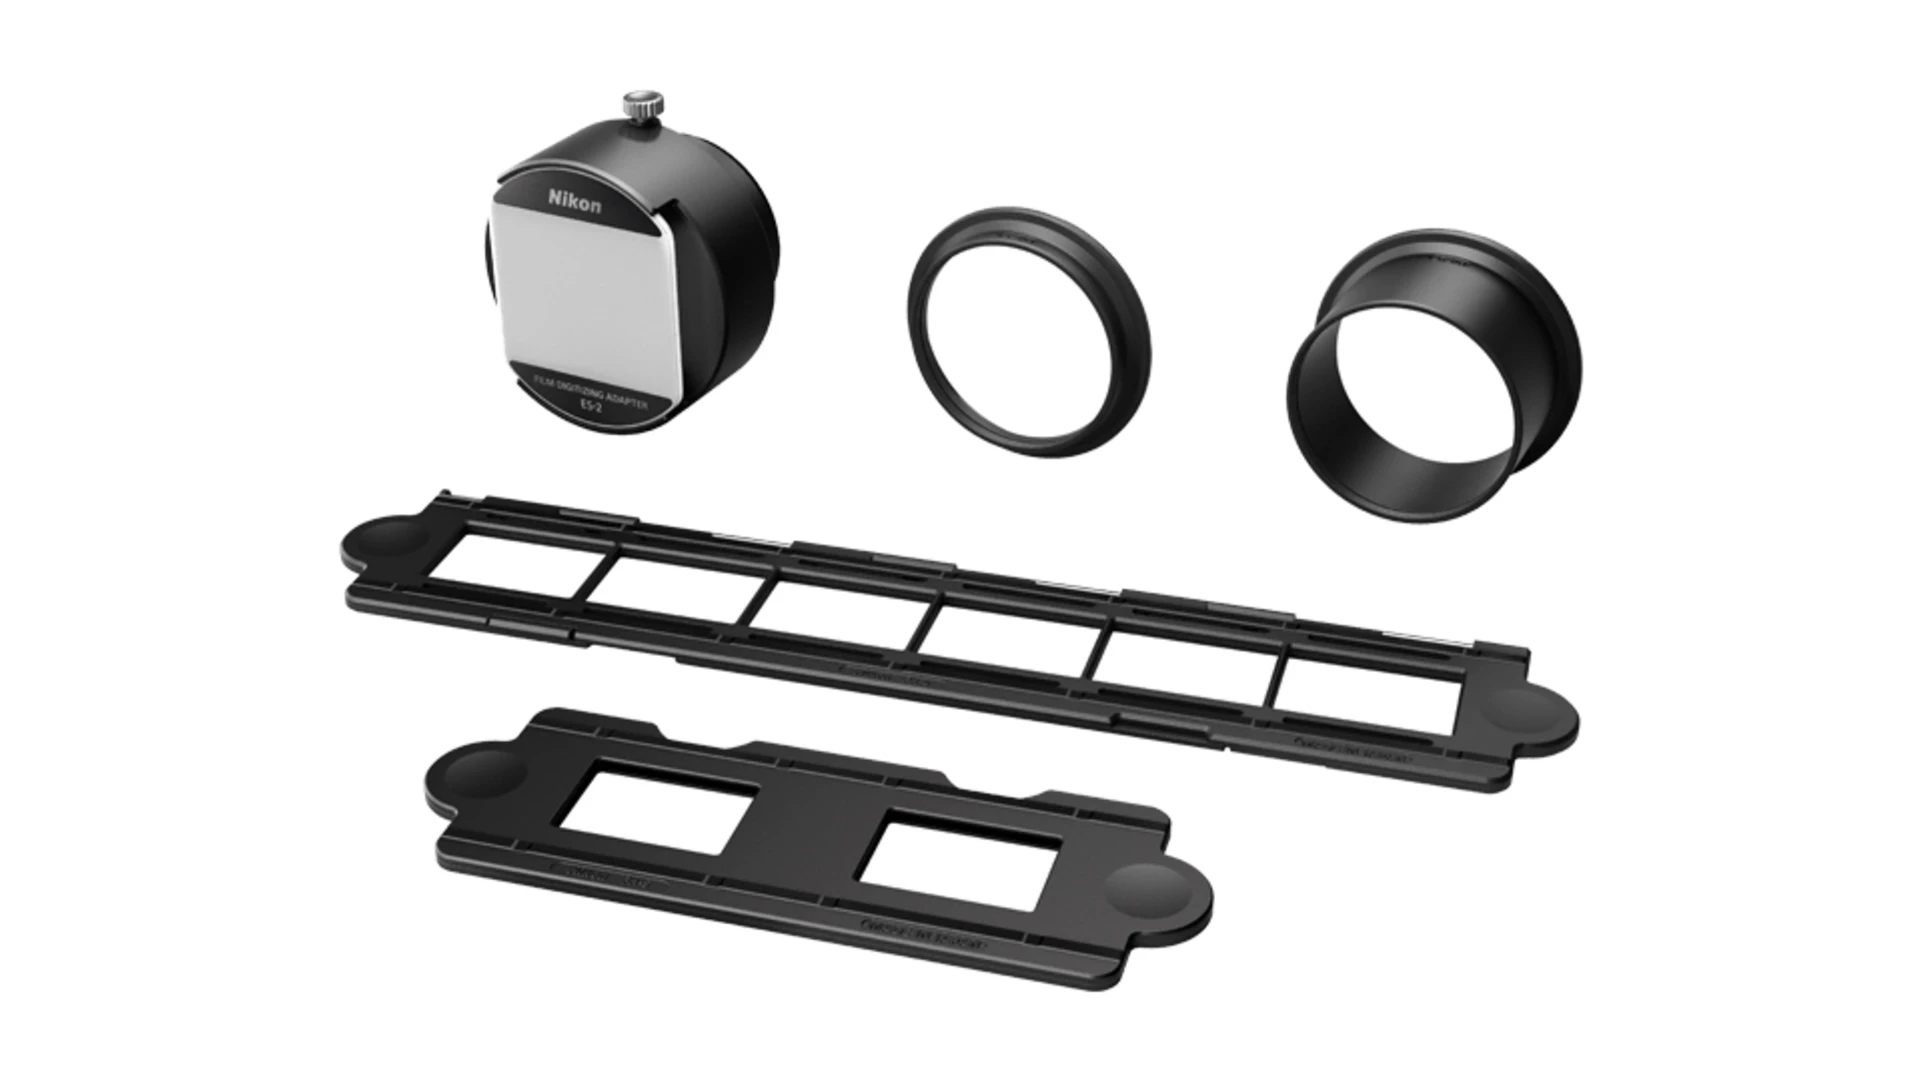
Nikon ES-2 Film Digitizing Adapter Set
In my experience thus far, I had to attach both rings together to get a proper focus when using the NIKKOR Z MC 50mm f/2.8 macro lens. Adding the extra length adds a large border that needs to be cropped (and mostly straightened) after shooting.
In converting a couple hundred slides, I found that the automatic camera settings often come out with a better image than the manual settings. When in manual, I have the camera set to:
- Aperture of f/8
- ISO 100
- Shutter speed on auto set to aperture priority
- Picture control flat
Regardless of manual or automatic setting, set the shutter delay to 2-seconds even when using a tripod.
Gear Used
Camera
Nikon Z6
Lens
NIKKOR MC 50mm f/2.8 macro
Adapter
ES-2 Film Digitizing set
Light Source
VILTROX 15W LED video light panel (3300k-5600k)
Tripods
Dwarflab mini tripod x 2 (1 for camera and 1 for light Source)
Many sites I have read state that you get a good image with proper light shooting out the window on a sunny day, but I found a much better result using the light panel listed below set to between 5500k and 5600k. Tripods and shutter delay are also a must regardless of what you have read.
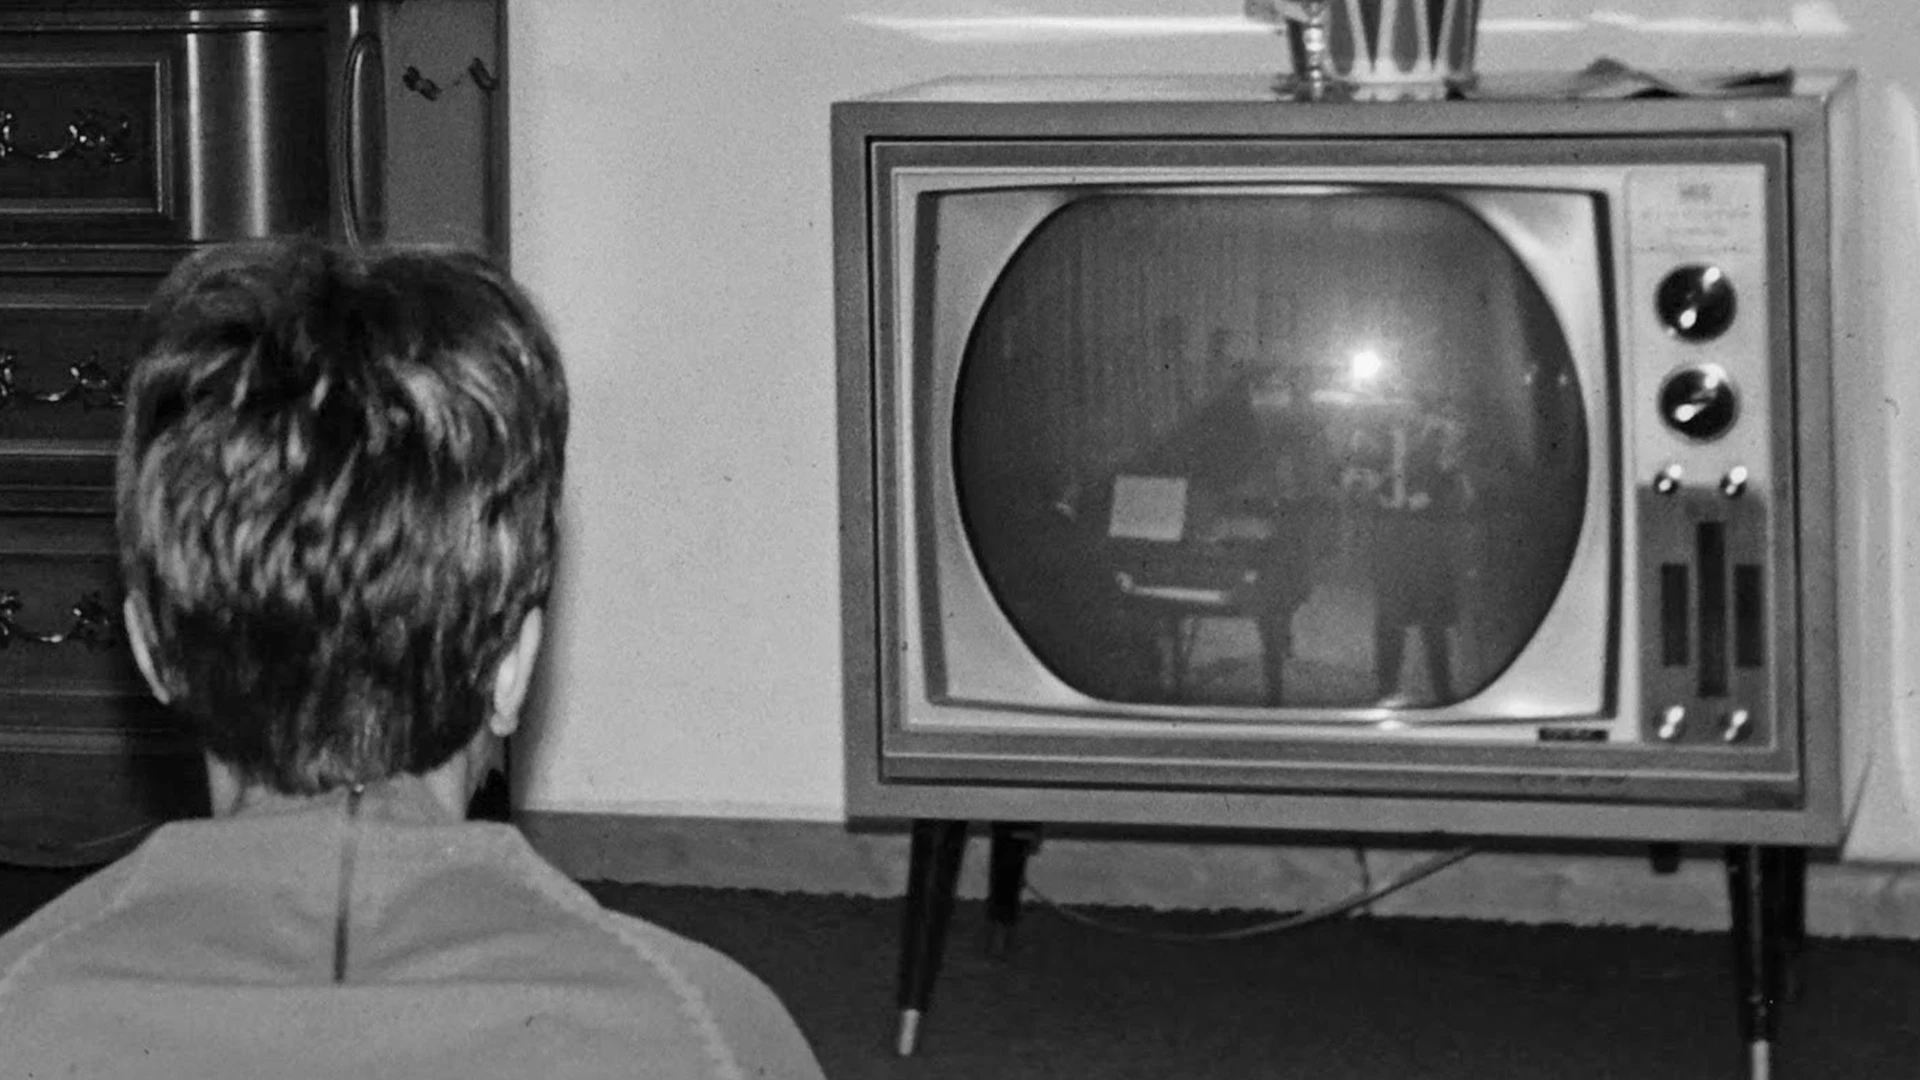
Some of the images I have scanned are 60+ years old and still come out great while others with a point-and-shoot still need some color editing.
As I progress through the thousands of slides, I will update any changes I have made.
Converted Slide & Photograph Posts
 https://kinsleylife.com/wp-content/uploads/2026/05/kl_familyphotos_01.webp
1080
1920
George
https://kinsleylife.com/wp-content/uploads/2026/10/kinsleylife_logo_05.webp
George2026-05-02 04:28:482026-10-14 04:52:40Family Photographs
https://kinsleylife.com/wp-content/uploads/2026/05/kl_familyphotos_01.webp
1080
1920
George
https://kinsleylife.com/wp-content/uploads/2026/10/kinsleylife_logo_05.webp
George2026-05-02 04:28:482026-10-14 04:52:40Family Photographs

Leave a Reply
Want to join the discussion?Feel free to contribute!