
It all began back in 2012 when we both developed an interest in utilizing some unused space behind our garage. The location was ideal for a vegetable garden, but what should we build there? It didn’t need to be large, as it was primarily a test to see if we would actually use it as much as we hoped.
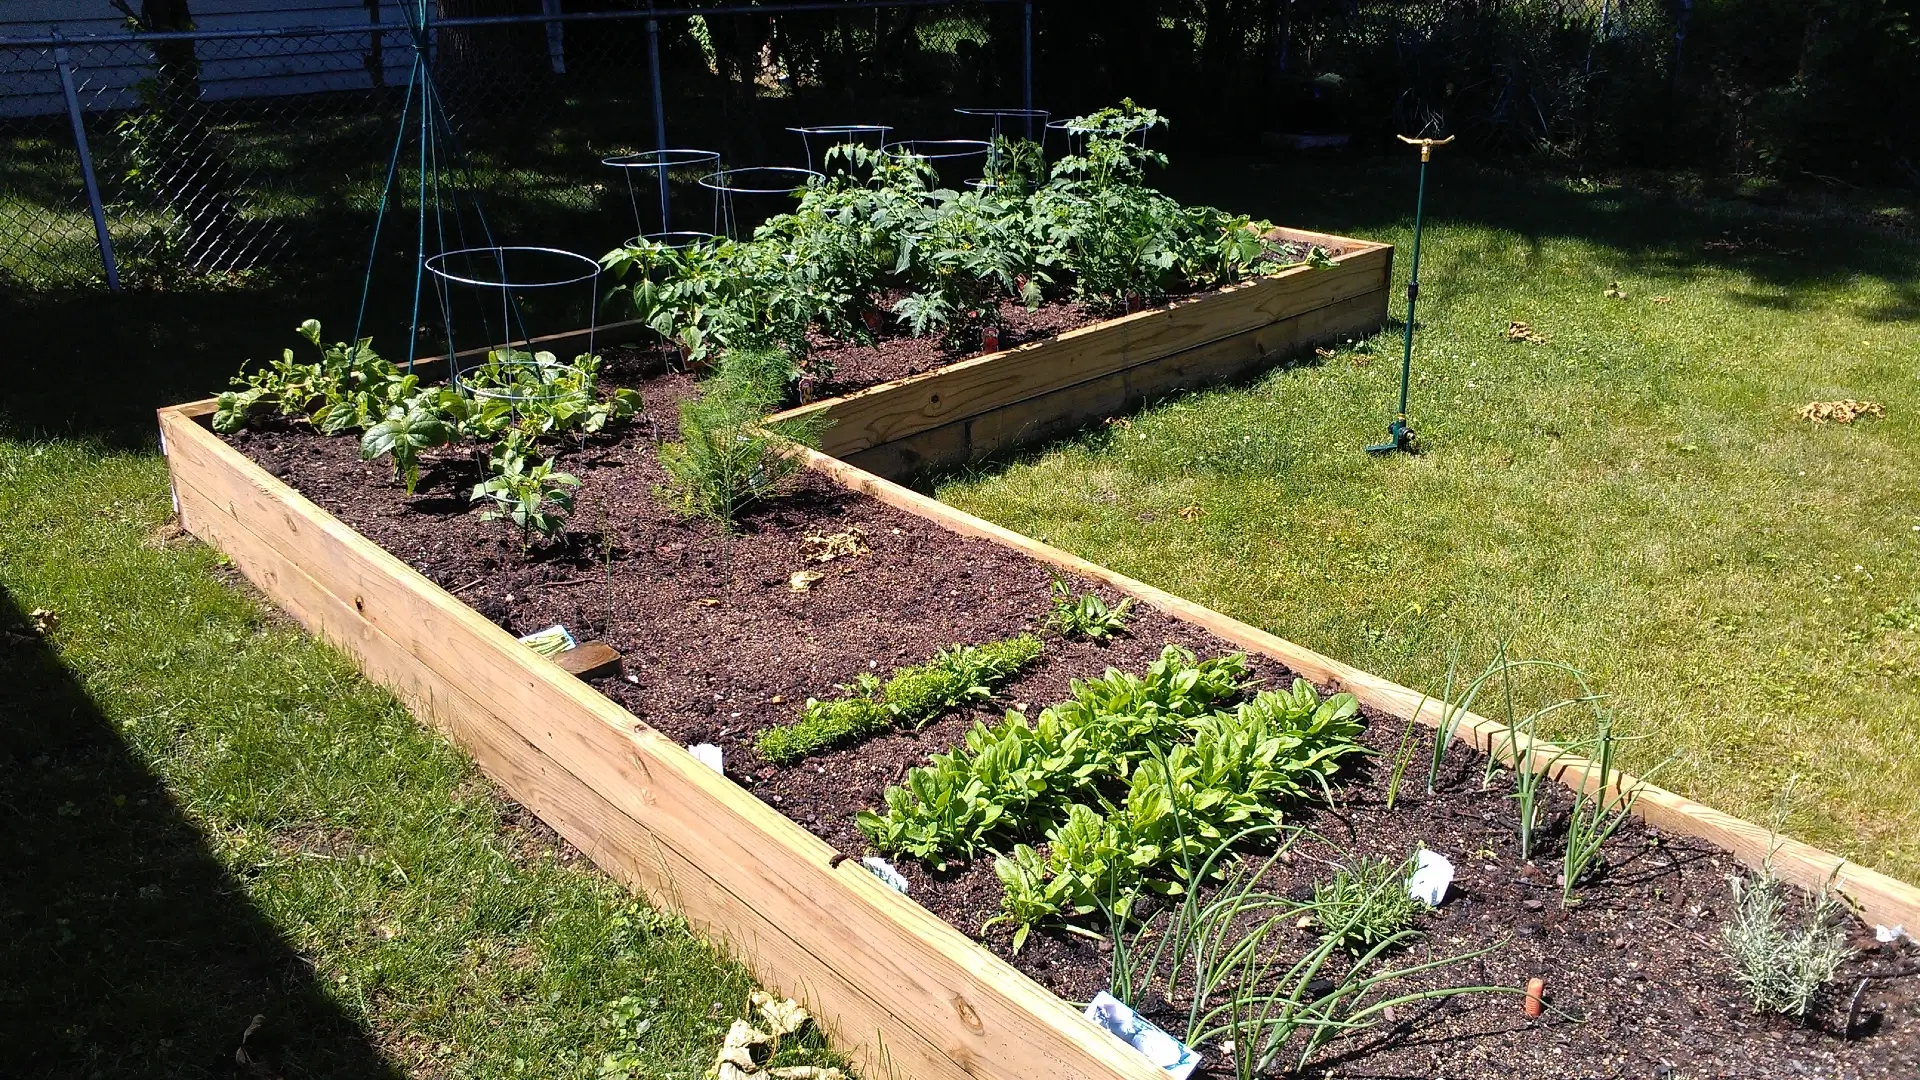
We chose to build an L-shaped raised bed that served us well for a few years. However, our minds kept turning on how to make it look better and produce higher yields. Not to mention, the area around the garden became saturated during heavy rains, turning it into a muddy, swampy mess.
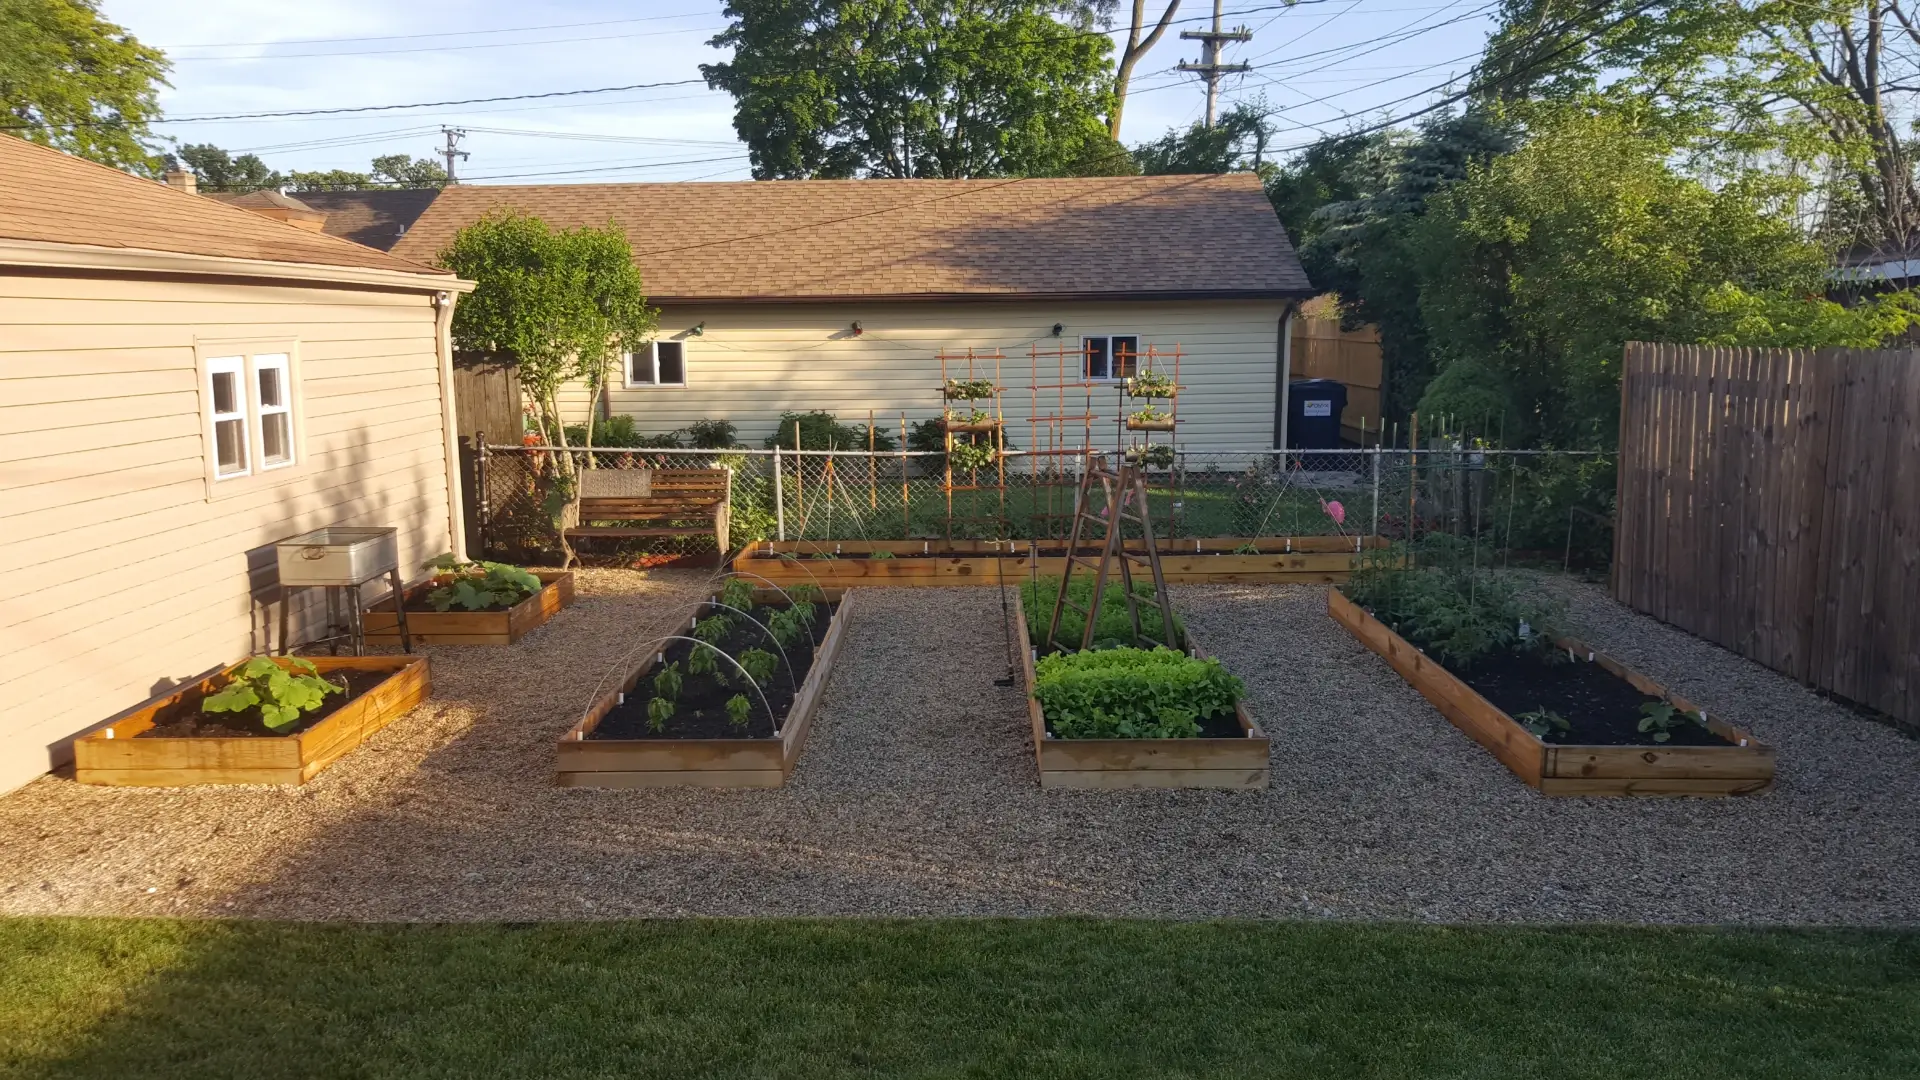
Fast forward to 2015: it was time to rebuild. We wanted more space, and it was time to resolve the drainage issues.
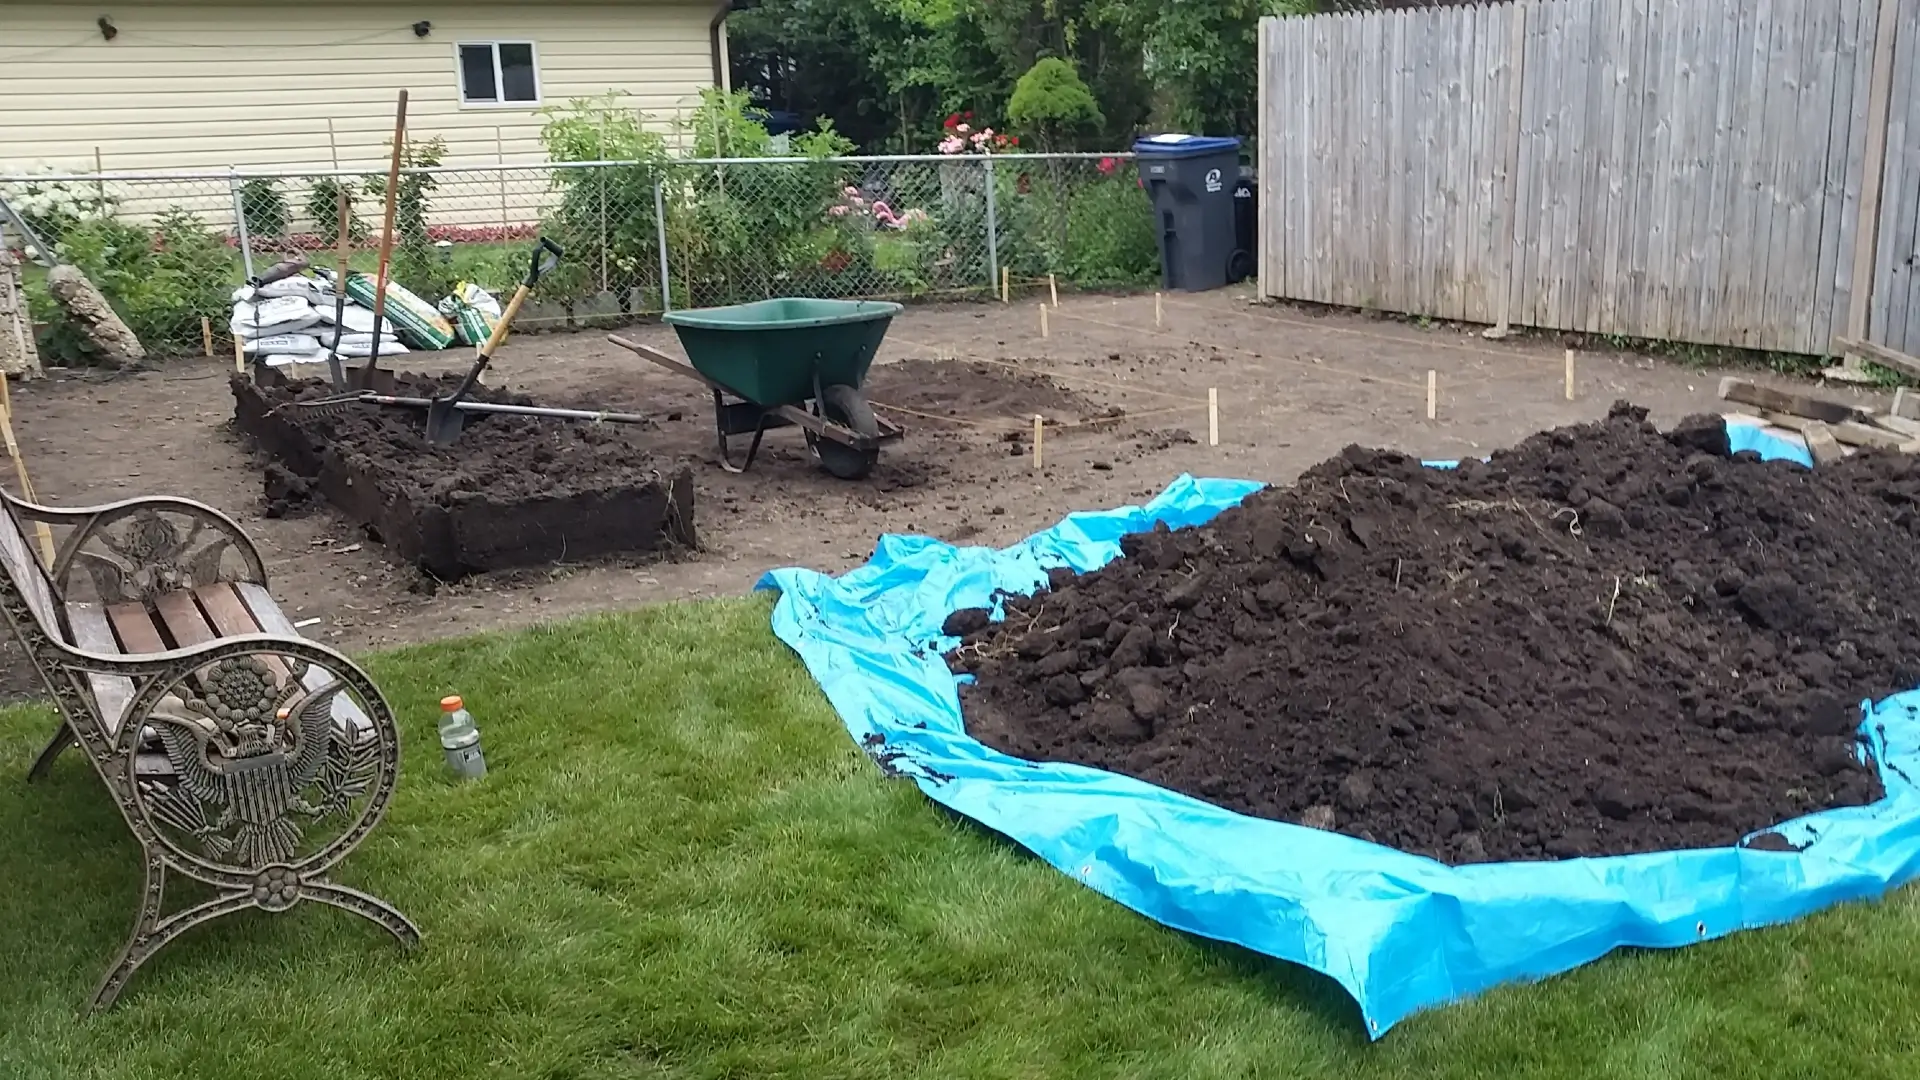
We started by dismantling the old L-shaped bed and stripping the grass across the 600-square-foot plot. Using some old stakes and twine, we mapped out the new layout.
To keep things straightforward, we sized the three main beds at 3 feet by 12 feet, spacing each bed 3 feet apart. Simple math—everything was divisible by 3! We also planned one long bed spanning the total length of the beds plus the gaps (3 feet by 15 feet), along with another bed featuring a 4-foot cutout in the middle beneath the garage window. That required 154 linear feet of lumber (or thirteen 1″ × 6″ 12-foot boards), leaving only 2 inches of scrap. We could have easily made the long bed an inch longer on each side to eliminate scrap entirely, but that would have thrown my OCD out of whack!
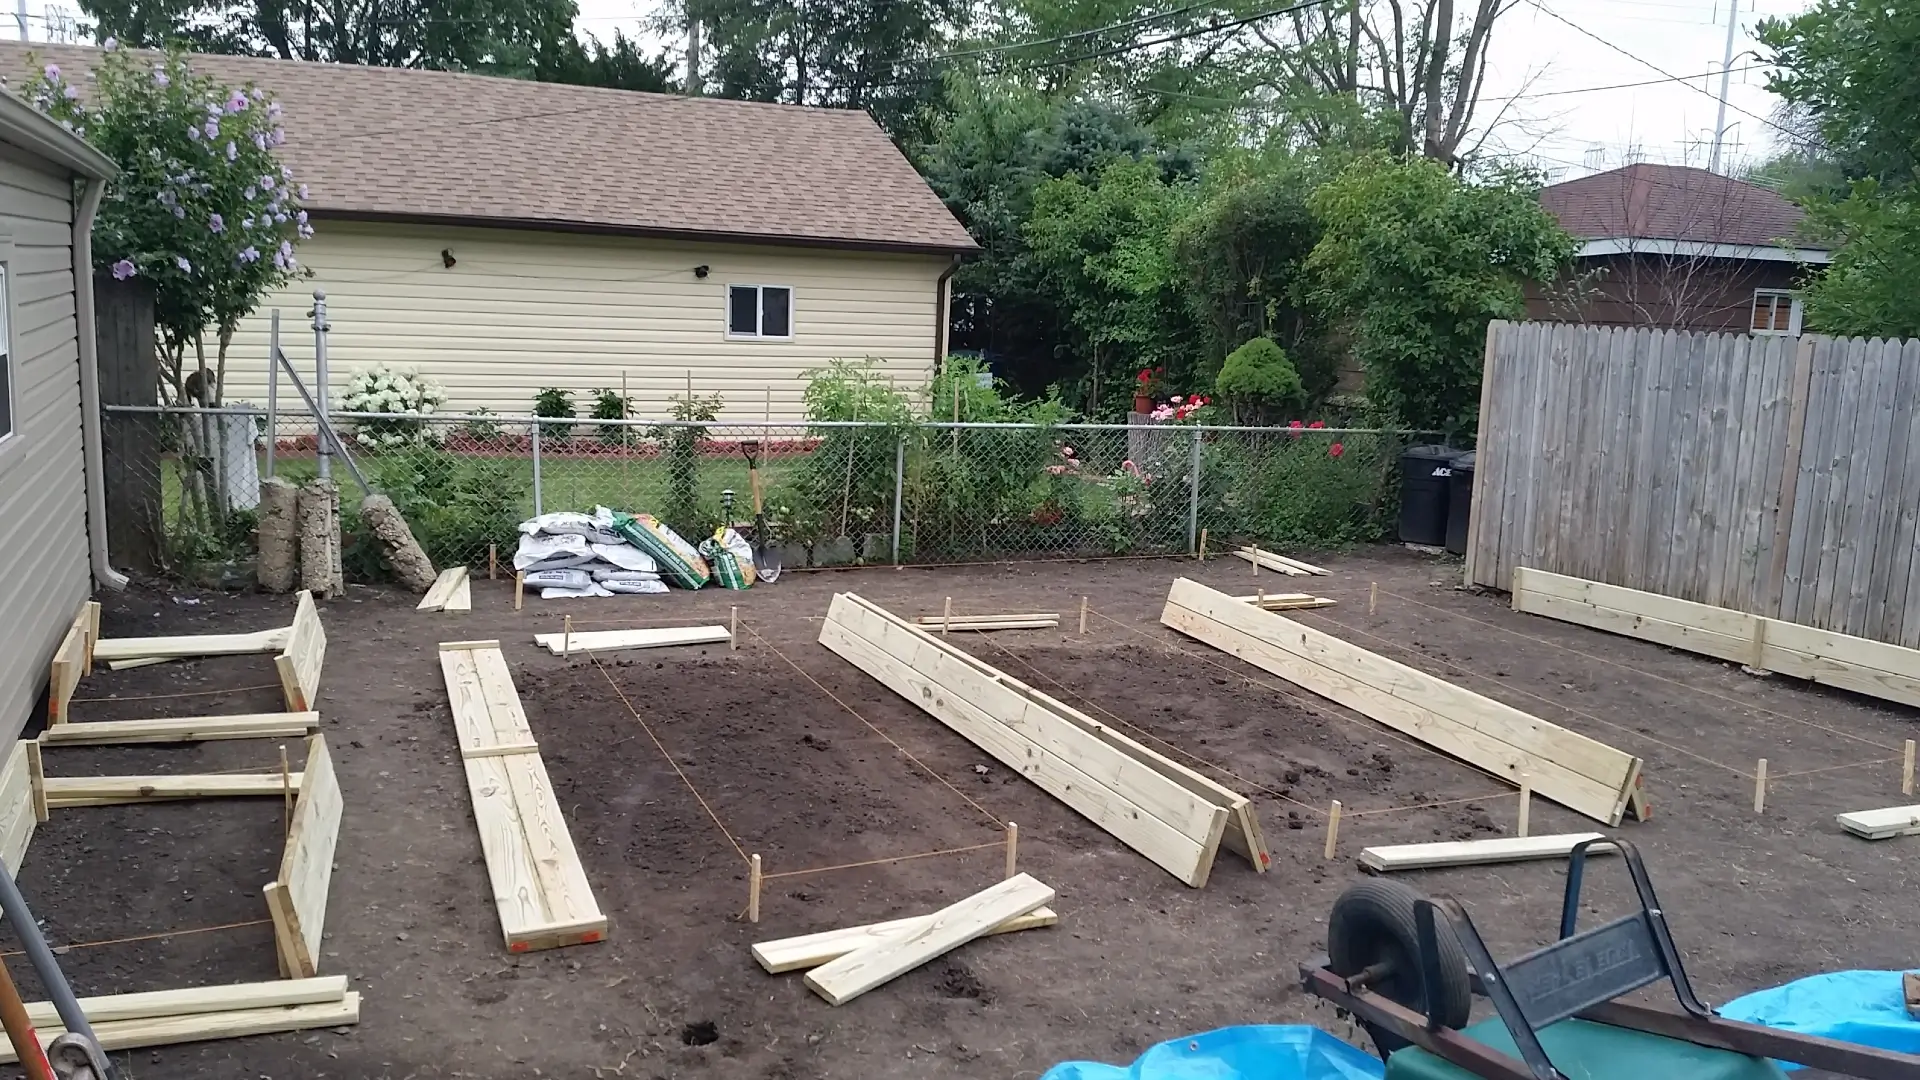
To brace the corners and support the longer walls, we added 1″ × 1″ corner and support posts cut to 12 inches (the depth of each bed). We placed one post at each corner, one along the long side of each standard bed, and two along the 15-foot bed. That came out to 34 one-foot posts (34 linear feet of lumber).
With a box of deck screws in hand, we were ready to assemble.
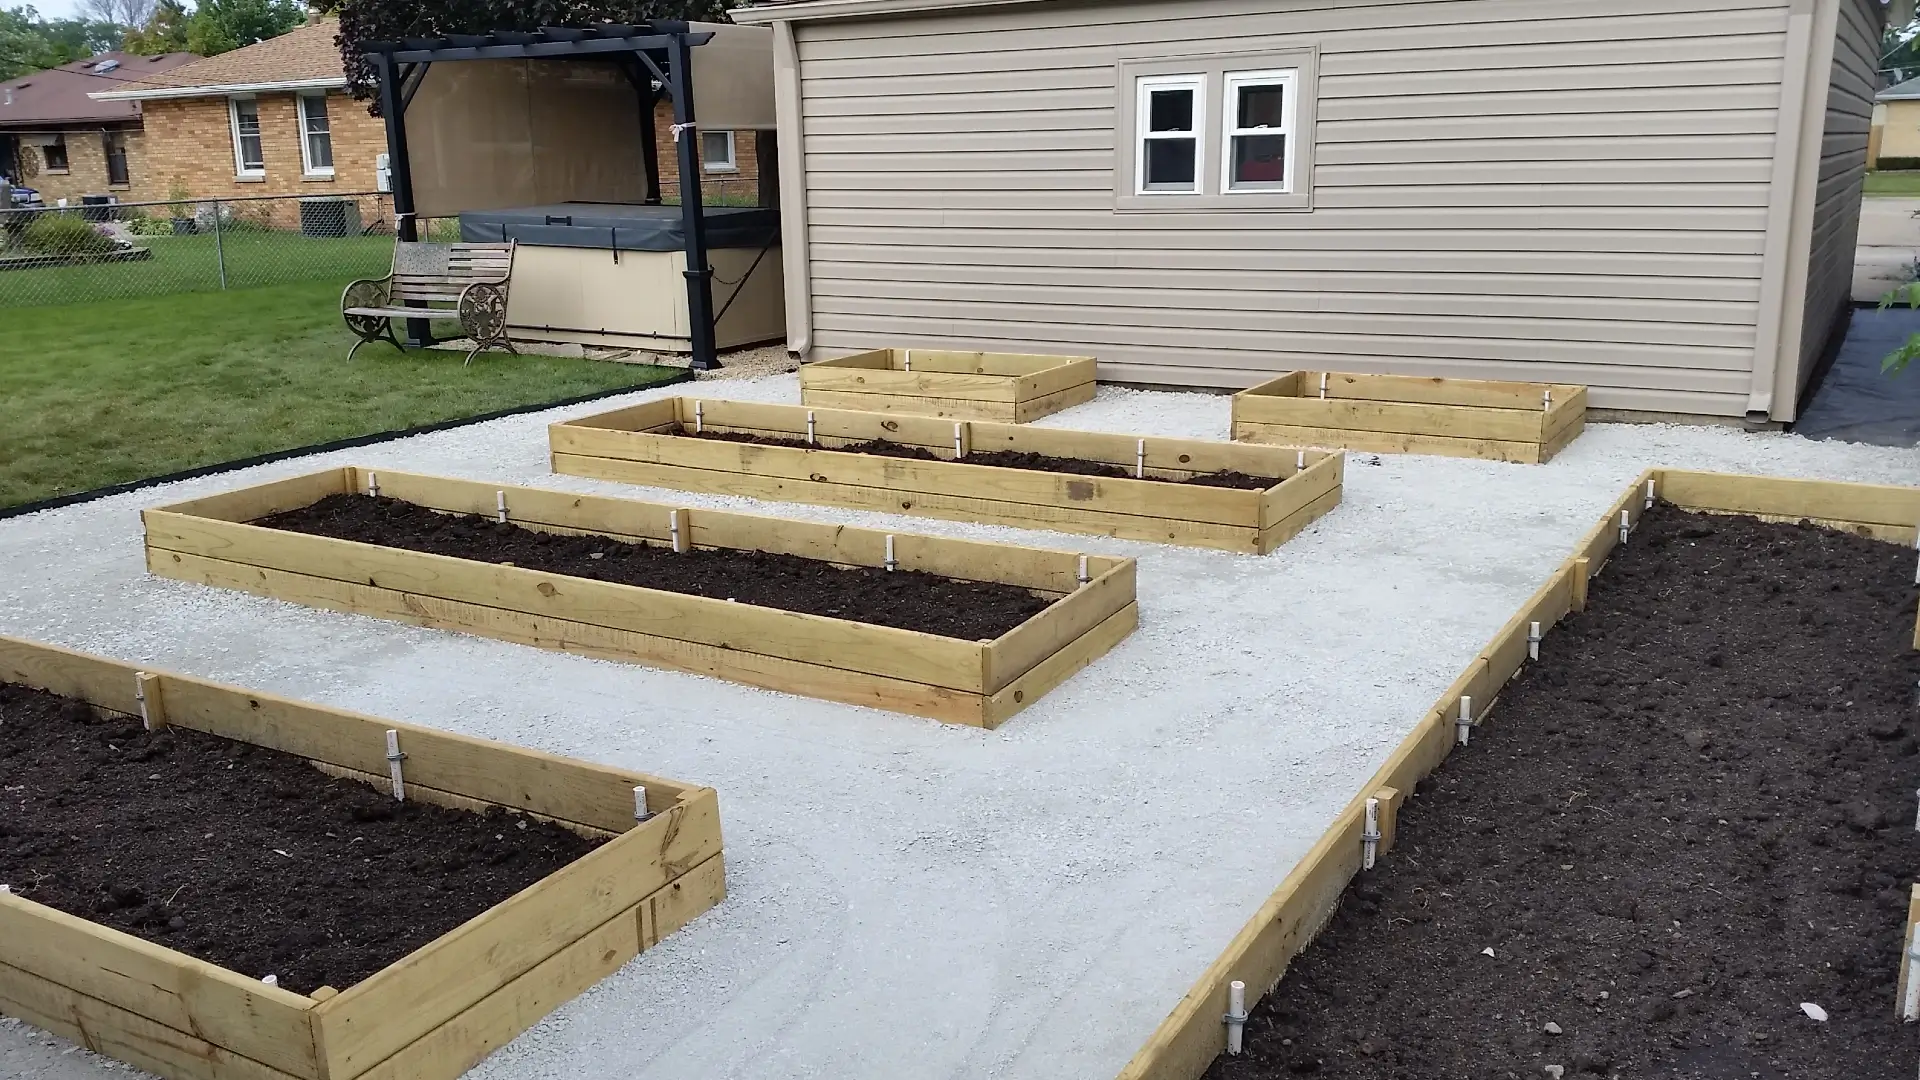
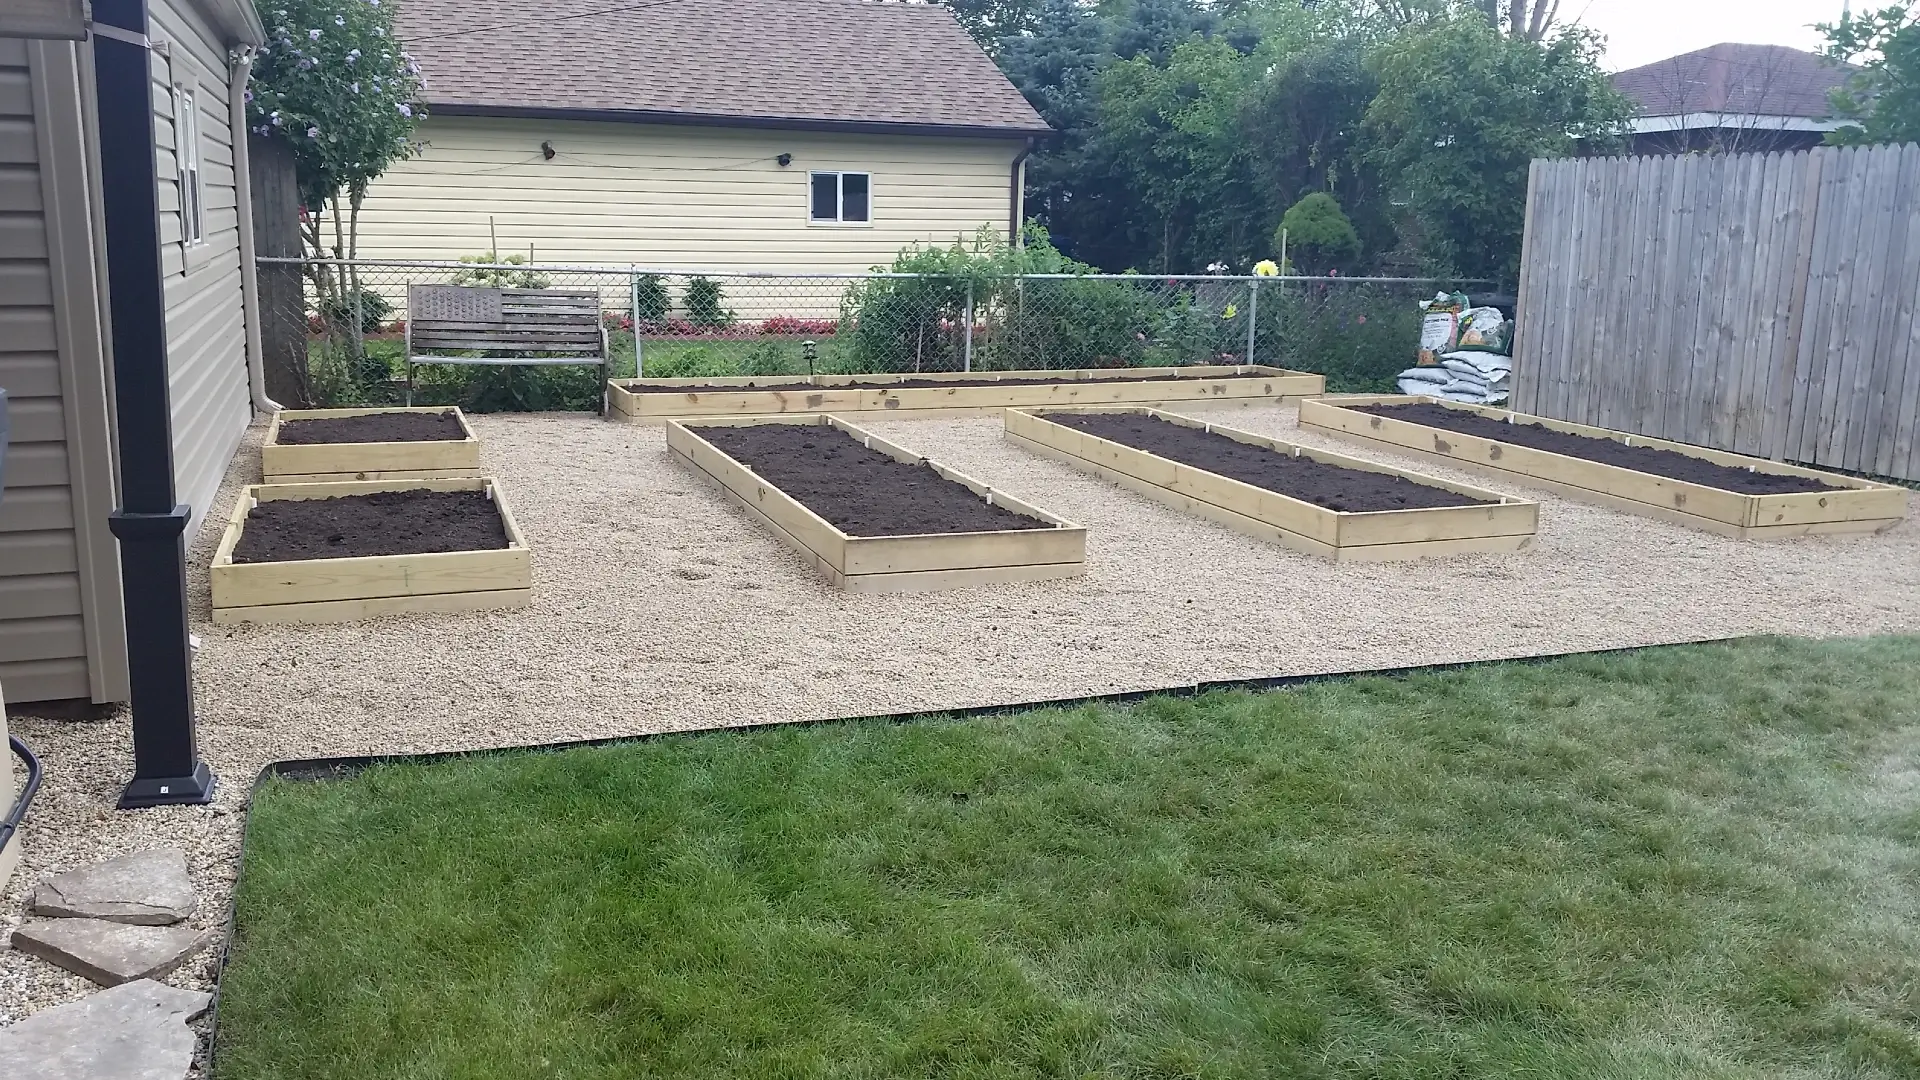
Once the frames were placed in their final positions, it was time to spread a base of crushed limestone topped by a few inches of pea gravel. While you can never completely prevent weeds from sprouting in gravel, the limestone base makes them much easier to pull.
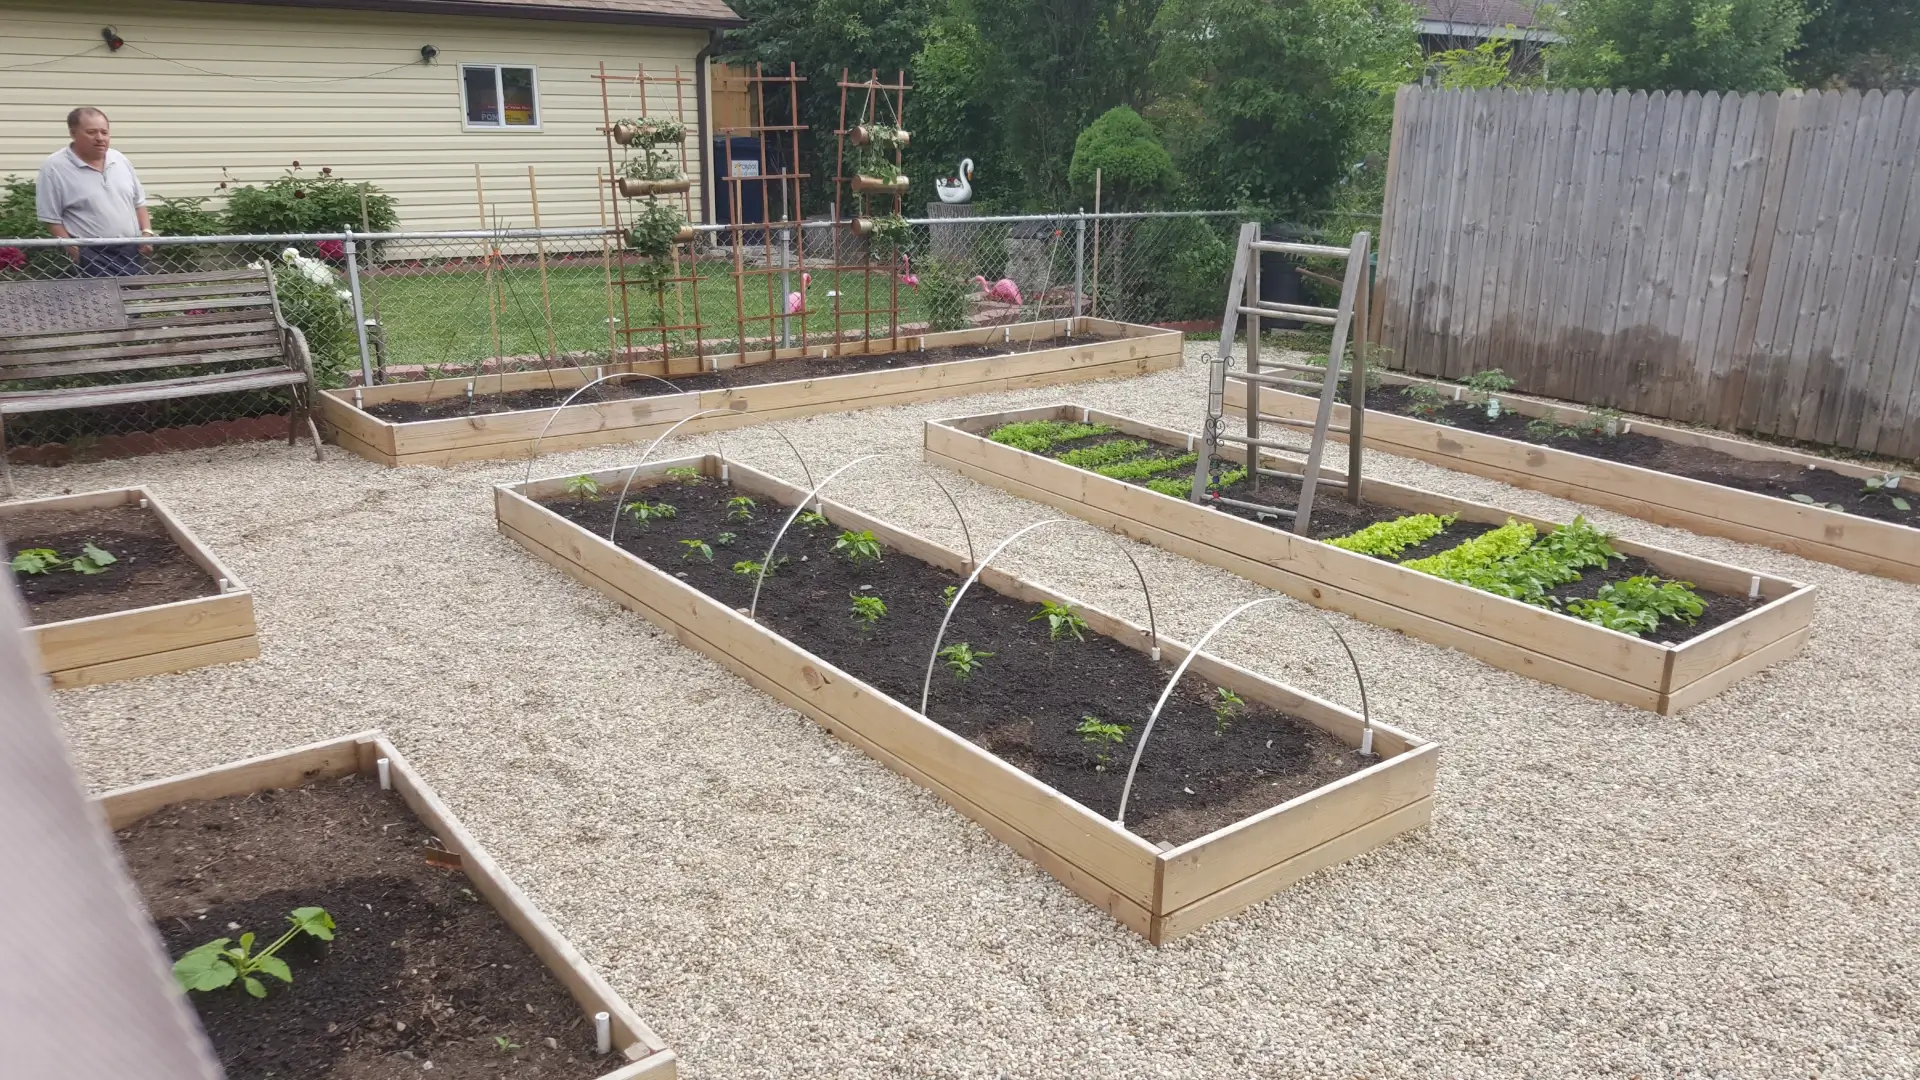
Before filling the beds with 12 inches of soil, we cut 54 feet of ½-inch electrical conduit into sleeves and secured them to the inside walls with 108 two-hole straps. These sleeves will allow us to slip in metal hoops later to create low tunnels for spring and fall protection.
Finally, we had 7 cubic yards of organic garden soil delivered and shoveled into the beds.
Short of planting in the spring, we were finished!
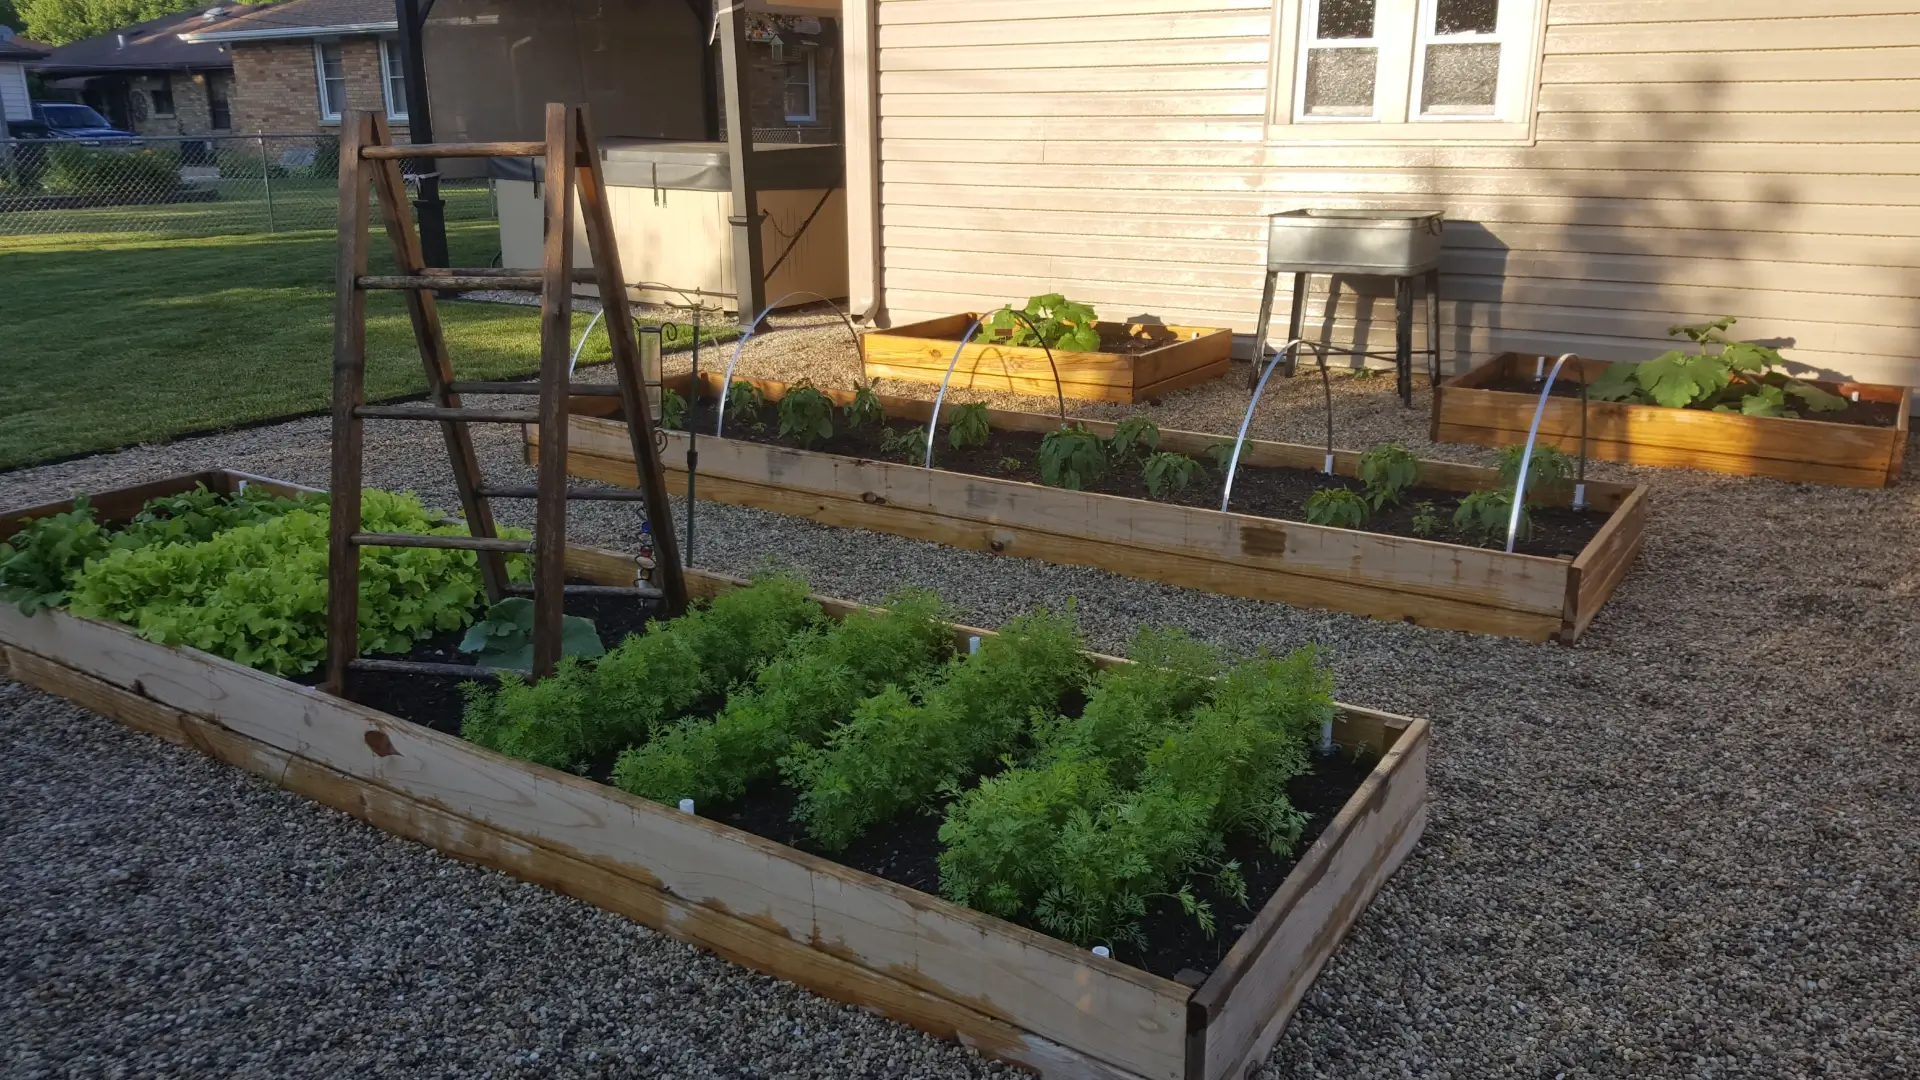
The additional garden space has provided us years of delicious produce and continues to be an experiment bed for Kim’s horticulture degree.
Follow us through future seasons at kinsleylife.com/GardenLife
Materials List
Boards
(13) 12′ x 1″ x 6″
Corner Supports
(34) 12″ x 1″ x 1″
Screws
(136) 1 3/4″ deck screws
Tent Brackets (optional)
(108) 2-hole conduit straps (4 per loop)
Tent Poles (optional)
(54) 12″ x 1/2″ electrical conduit
Garden Soil
(7) cubic yards of organic garden soil

 Photo credit: EatingWell.com
Leave a Reply
Want to join the discussion?Feel free to contribute!